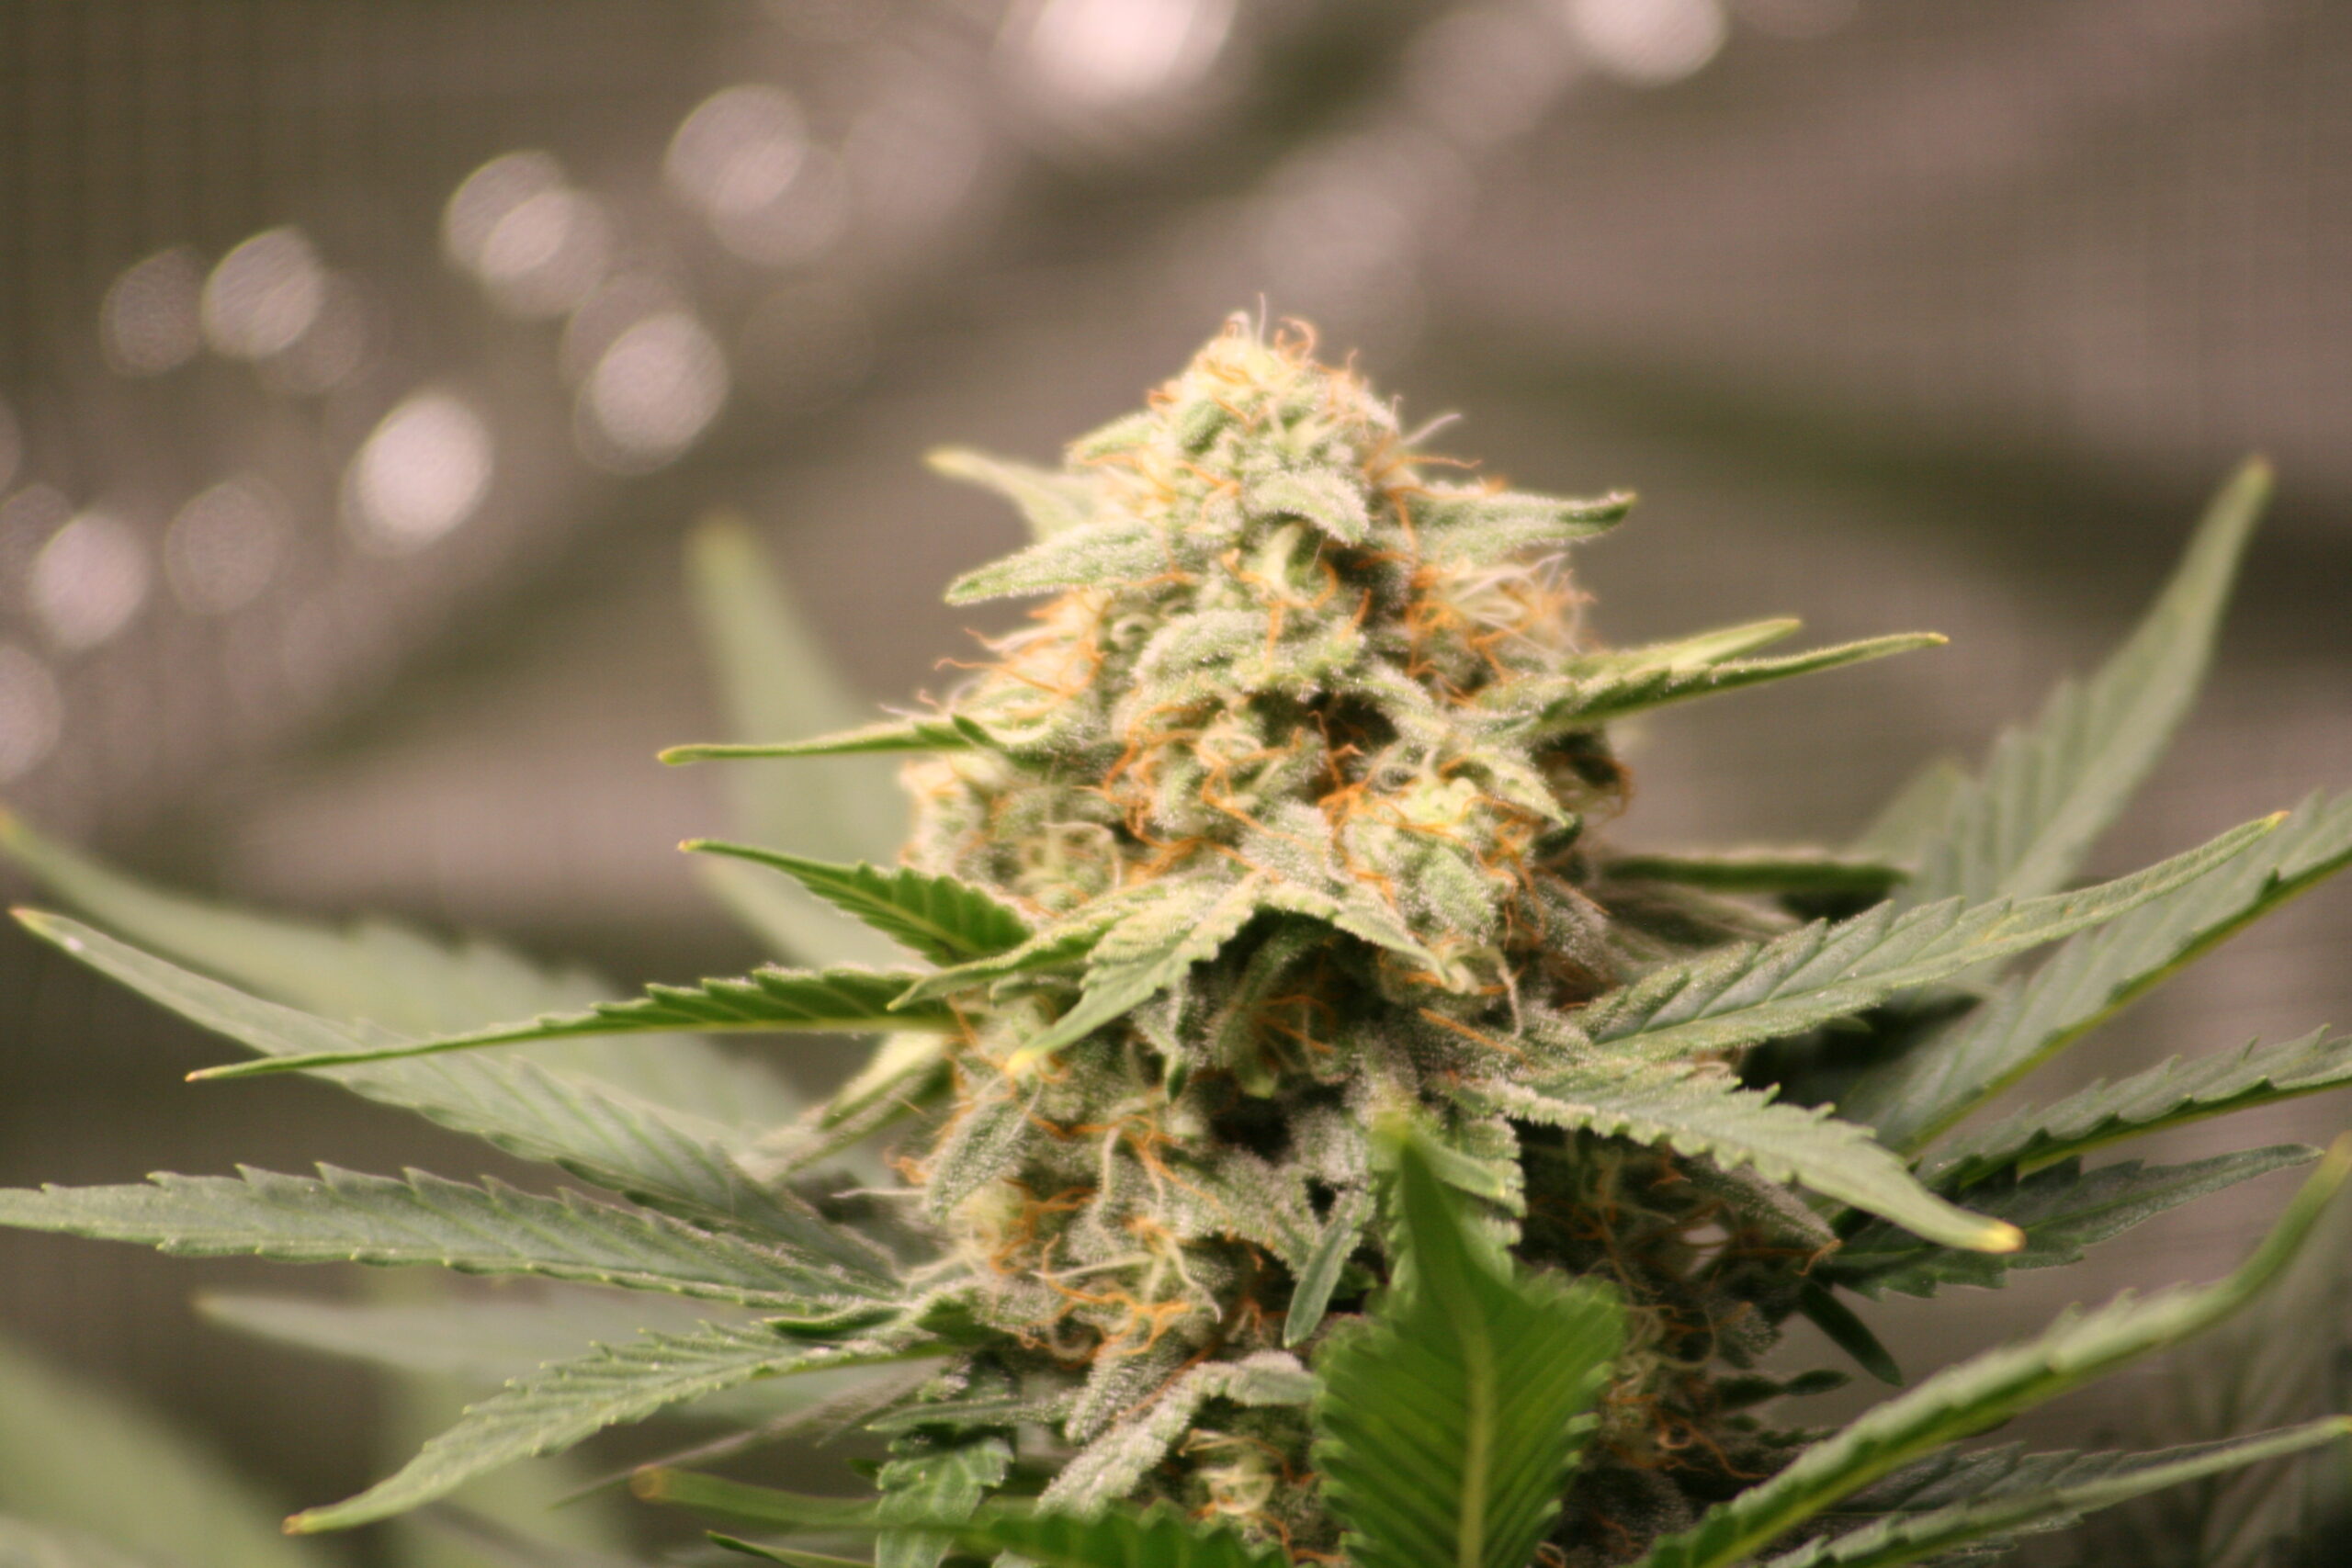
If you’ve been growing for a while, you’ve probably heard about air pots — those plastic containers full of holes that promise explosive root growth and bigger yields.
But did you know you can make your own DIY air pots at home with just a drill and some patience?
That’s right — while real air pots are designed with precision, you can recreate much of their magic for almost no cost.
In this guide, I’ll show you exactly how to do it, explain what makes air pots so special, and share when it’s worth upgrading to the real thing.
🌿 What Are Air Pots and Why Do They Work?
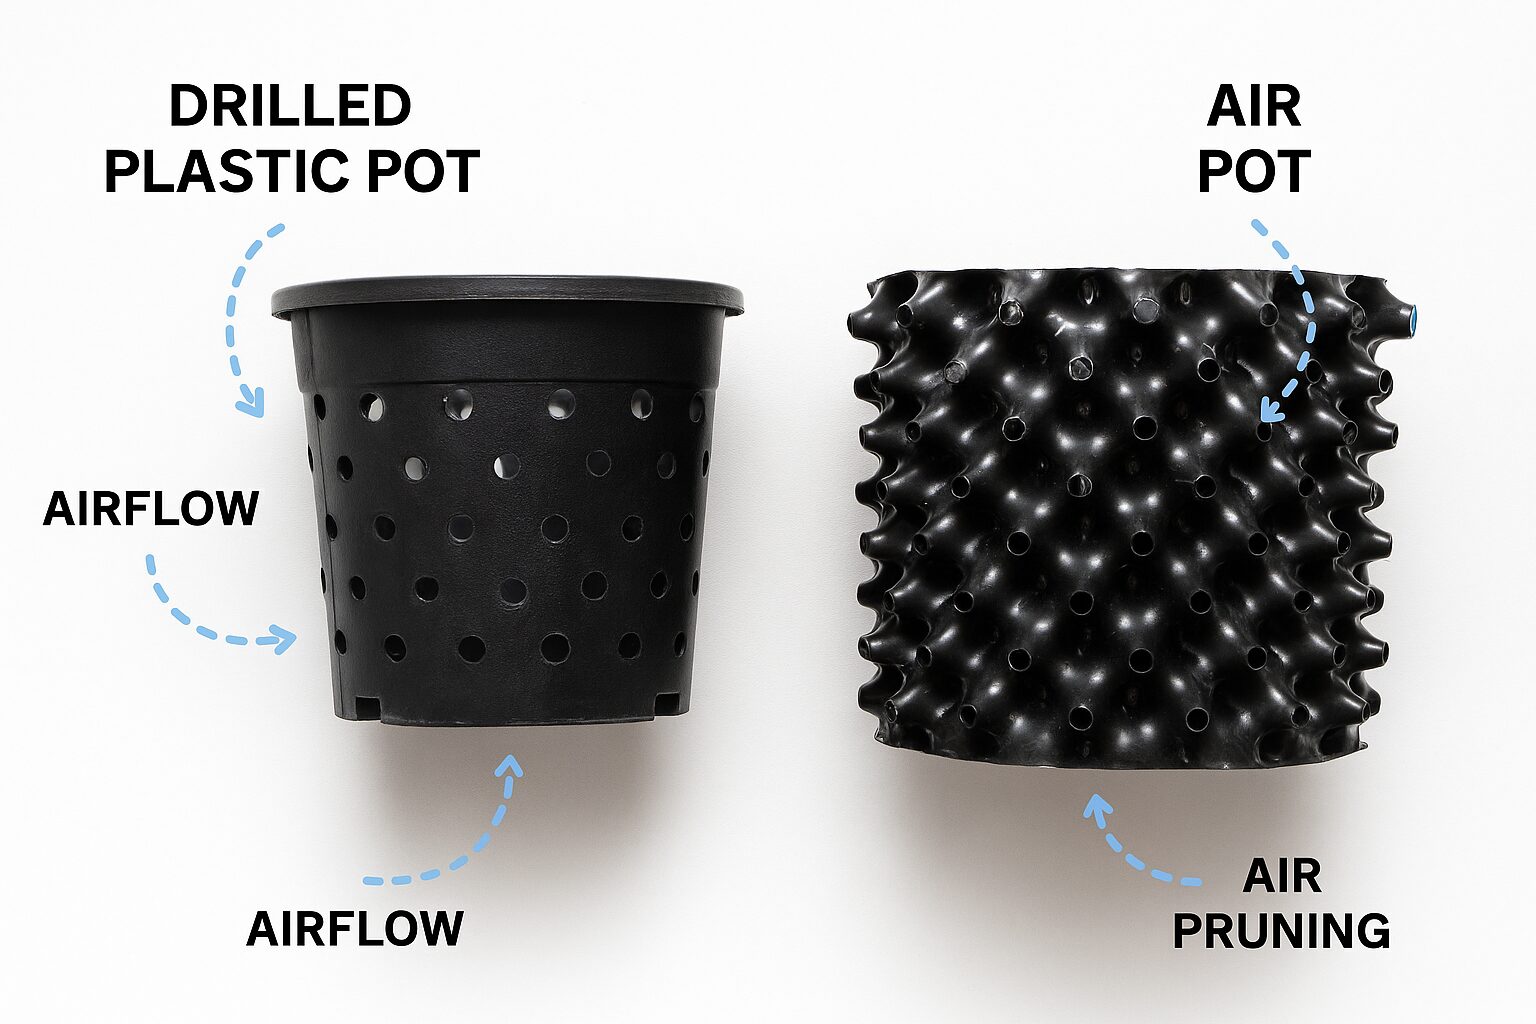
Air pots are specialized plastic containers with perforated, cone-shaped holes along the sides.
These holes allow air to reach the roots, which causes a process known as air pruning.
🧬 What Is Air Pruning?
When roots reach open air, the tip dries out naturally, signaling the plant to grow new lateral roots instead of circling around the pot.
This creates:
- A denser root system
- Better nutrient absorption
- Stronger stems and foliage
- Healthier overall plant growth
In other words:
Air pots help plants focus on growing “outward and upward” instead of “round and around.”
⚙️ Can You Really Make Air Pots Yourself?
✅ Yes, absolutely — with the right approach.
True air pots are made from thick, molded plastic with perfectly shaped holes, but a DIY version can still improve root health dramatically.
All you need is:
- A few spare plastic pots or buckets
- A drill or heated screwdriver
- Some patience and creativity
By drilling holes in the sides and bottom of a standard pot, you increase airflow, reduce overwatering, and partially mimic the air-pruning process.
🛠️ How to Make DIY Air Pots (Step-by-Step)
You don’t need fancy tools or equipment for this project.
Here’s exactly how to make your own air pots in under 30 minutes.
🧰 Materials
- Sturdy plastic pot, bucket, or container (3–10L works well)
- Drill or heated metal rod
- 2–3 mm drill bit
- Optional: breathable mesh fabric or landscape cloth
- A tray or riser to place the pot on
🪛 Step 1: Drill the Side Holes
Use your drill (or heated tool) to make holes evenly around the sides of the pot, about every 2–3 cm.
Start a few centimeters above the base to prevent water from escaping too quickly.
💡 Tip:
Use a small bit first, then widen holes slightly. You want enough air movement without the soil spilling out.
💧 Step 2: Drill the Bottom
Drill 6–8 drainage holes in the bottom to prevent waterlogging.
These should be slightly larger than the side holes to ensure excess water drains efficiently.
🪶 Step 3: Add a Mesh Liner (Optional)
If your soil mix is loose, line the inside of the pot with mesh or landscape fabric.
This keeps soil in place while still allowing air to flow freely through the holes.
🧱 Step 4: Elevate the Pot
Place your pot on a riser, grid, or tray to ensure air can circulate underneath.
Standing water at the base defeats the purpose — the roots need oxygen to thrive.
🌬️ How DIY Air Pots Improve Growth
Even though homemade versions aren’t as perfectly engineered as commercial air pots, they still provide big benefits:
| Benefit | Explanation |
|---|---|
| Better Aeration | Holes allow more oxygen into the root zone |
| Improved Drainage | Reduces overwatering and root rot |
| Less Root Circling | Roots prune themselves naturally at the edges |
| Healthier Root Ball | Denser, more fibrous root structure |
| Stronger Plants | Better nutrient uptake and stress resistance |
In short: You’re giving your plant’s roots room to breathe.
⚖️ DIY Air Pots vs. Real Air Pots
Here’s how homemade versions stack up against the real deal.
| Feature | DIY Air Pot | Real Air Pot |
|---|---|---|
| Material | Regular plastic pot | Molded, thick plastic with air cones |
| Hole Shape | Flat, drilled holes | Funnel-shaped, angled holes |
| Air Pruning Efficiency | Moderate | Excellent |
| Water Retention | Slightly better | Dries faster |
| Durability | Average | Very high (years of reuse) |
| Cost | Almost free 💸 | Moderate investment |
| Setup | Simple DIY | Plug-and-play ready |
✅ DIY versions are perfect for small grows and experiments.
🌿 Real air pots shine in larger setups where every detail of root performance matters.
🧠 Pro Tips for Using DIY Air Pots
- Use a soil mix with perlite or coco — it improves oxygen flow.
- Water more often but with smaller amounts. Your pot will dry faster than a solid plastic one.
- Don’t overfill with soil. Leave 2–3 cm of space at the top to avoid spillage through holes.
- Clean thoroughly between grows. Drill holes can trap salts or soil particles.
⚠️ Common Mistakes to Avoid
| Mistake | Why It’s a Problem | Solution |
|---|---|---|
| Holes too big | Soil and roots dry out fast | Stick to 2–3 mm size |
| Holes too few | No air pruning | Drill more holes evenly |
| No elevation | Bottom stays wet | Use riser or tray |
| Too much watering | Overly moist medium | Allow topsoil to dry slightly |
| Plastic too thin | Cracks or breaks | Choose durable pots |
🌾 Real Air Pots: Why They’re Still Worth It
If you fall in love with the DIY results, upgrading to real Air-Pot® containers is a logical next step.
They use curved walls and conical holes to guide roots directly toward air exposure — ensuring 100% effective pruning without drying issues.
They’re:
- Reusable for years
- Easy to clean
- Perfect for soil, coco, or hydro grows
External resource: Air-Pot Official Website
🧩 My Experience with DIY Air Pots
I’ve made and tested DIY versions myself — and they do make a difference.
The roots stay whiter, the soil stays more oxygenated, and I notice faster vegetative growth.
But in comparison, real air pots feel “smarter”. They balance air and moisture perfectly, and the design guides the roots rather than leaving it to chance.
Still, for anyone growing on a budget or just experimenting, DIY air pots are absolutely worth trying — they’ll teach you how roots behave and how important air really is in soil grows.
📌 Key Takeaways
- Air pruning = healthier, denser root systems.
- You can make DIY air pots easily with a drill and regular plastic containers.
- Ensure good airflow, proper hole size, and elevation.
- DIY versions improve growth — real air pots take it further.
- Both help prevent root rot, overwatering, and circling.
🔗 Internal Links
- Choosing the Right Pot for Cannabis: Plastic, Fabric, or Air Pots
- Autoflower vs. Photoperiod: Key Growth Differences
- Cannabis Potency Explained
Leave a Reply