Growing cannabis successfully means having the right tools at the right time.
Whether you’re growing photoperiod strains or autoflowers, each stage of the lifecycle requires different equipment.
This guide gives you a complete overview of what you need from germination to curing.
Click on each item for a detailed guide (links coming soon).
🌱 1. Germination Stage (Autoflowers & Photoperiods)
- Starter pots or propagator
- Autoflowers: sow directly into the final pot to avoid transplant shock.
- Photoperiods: can start in small pots and transplant later.
- Germination medium (soil, coco plugs, or rockwool cubes)
- Spray bottle for gentle watering
- Heat mat (optional, keeps temps stable)
- Seedling light (LED or fluorescent)
🌿 2. Vegetative Stage
Photoperiod Plants
- Fabric or plastic grow pots
- Growing medium (soil, coco, hydro)
- Oscillating fan + exhaust system for airflow
- Hygrometer to track temperature & humidity
- pH and EC meter for water quality
- Vegetative nutrients (high in nitrogen)
- Training tools (LST ties, SCROG net, topping shears)
Autoflower Plants
- Final container from day one (11–15L fabric pots indoors)
- Gentle training only → LST and leaf tucking, no late topping
- Light feeding → 50–75% nutrient strength compared to photoperiods
- No 12/12 flip → run 18/6, 20/4, or 24/0 light schedule throughout
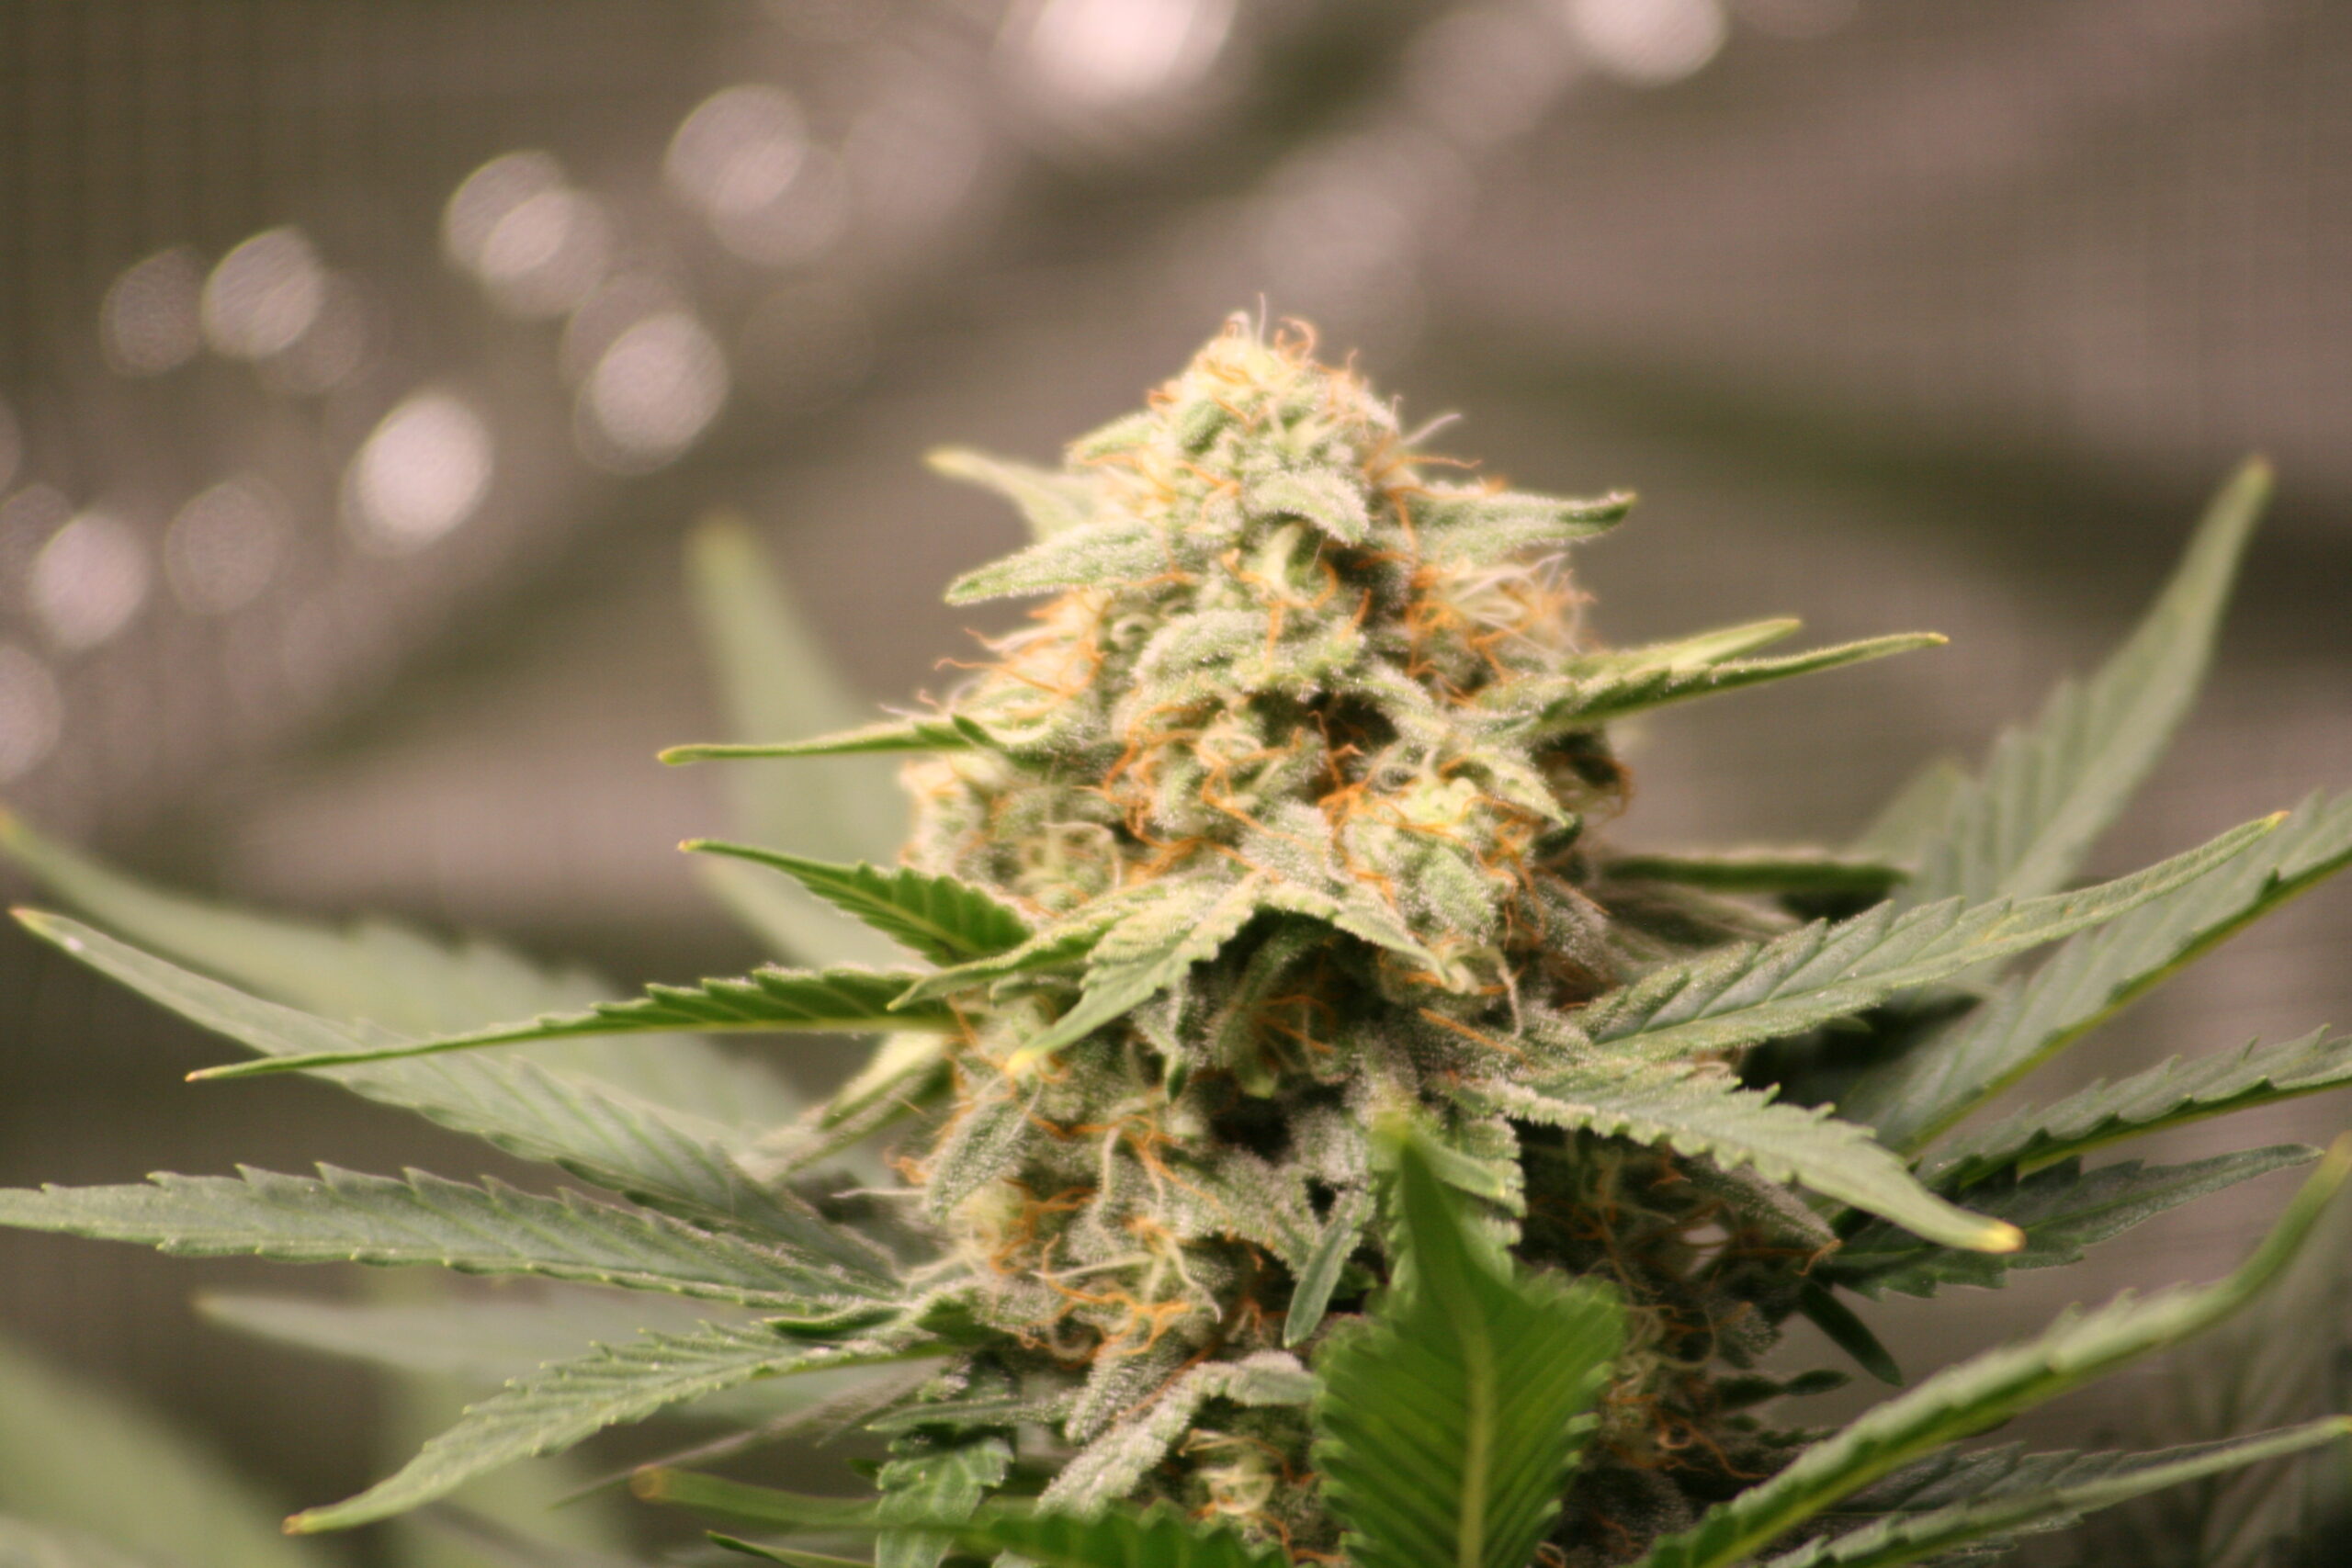
🌸 3. Flowering Stage
Photoperiod Plants
- Grow light (LED or HPS) powerful enough for dense buds
- Timer to switch to 12/12 light cycle
- Bloom nutrients (higher PK)
- Carbon filter + exhaust for odor control
- Training support (SCROG net, stakes)
Autoflower Plants
- No flip needed → flowers automatically after 3–4 weeks
- Stay on 18/6 or 20/4 light schedule
- Switch to bloom nutrients when pre-flowers appear
- Minimal training → focus on leaf tucking + light LST
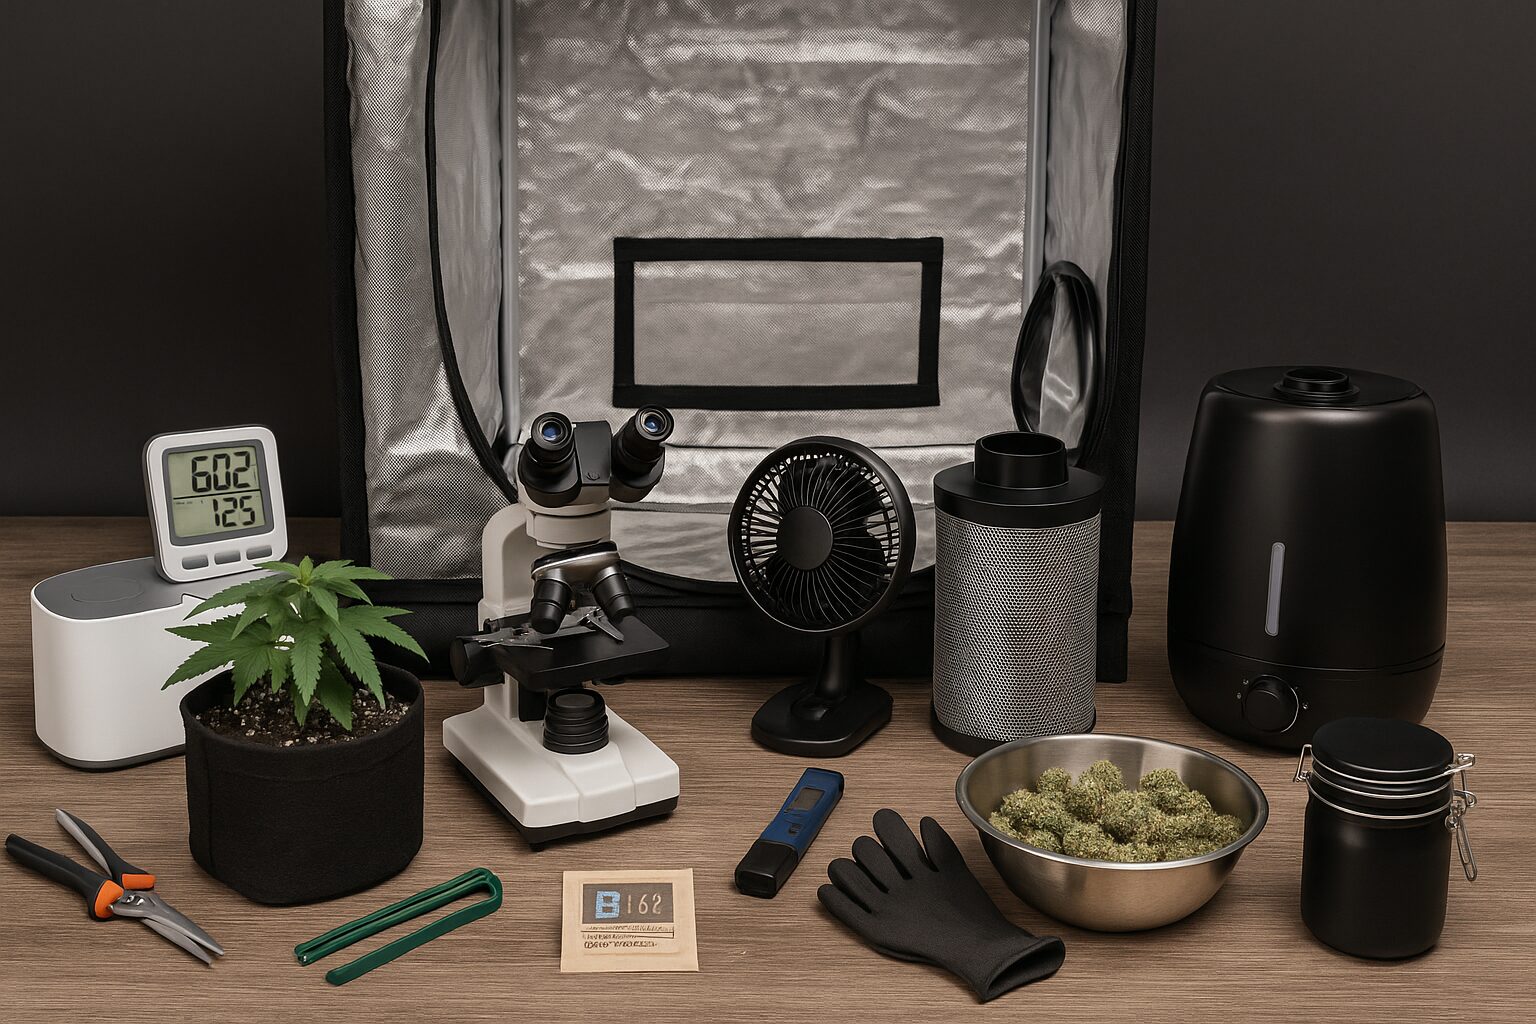
✂️ 4. Harvest
- Trimming scissors (sharp, resin-safe)
- Nitrile gloves to keep resin off hands
- Drying rack or hanging lines
- Hygrometer for the drying space
- Small circulation fan (indirect airflow)
🍯 5. Drying & Curing
- Glass mason jars or stainless steel cure containers
- Boveda/Integra packs for humidity control (58% or 62%)
- Mini hygrometers for inside jars
- Dark storage box or cabinet to protect from light
✅ Final Thoughts
Growing cannabis is a journey — and the right tools & equipment make the difference between an average harvest and top-shelf results.
Autoflowers are fast and simple, while photoperiods give you more control — but both benefit from careful attention to environment, airflow, and post-harvest handling.
Start small, master each stage, and you’ll enjoy consistent, high-quality harvests.
Want more details? Click on any item above to open the full guide page for that tool.
Leave a Reply